Visum
If you do not use Windows, you need to have a Virtual Machine. If you have an Arm processor this won’t work, even with a VM.
In this tutorial we will guide you to install and start using Visum.
PTV Visum is a macro simulation software, non-free, available only for Windows OS.
Installation
PTV Visum is available to download at: https://cgi.ptvgroup.com/visionSetups/en/filter;product=PTV%20Visum
Choose the most recent version (recommended) ≤ 2024. The file may be more than 1.3 GB.
If you don’t have Python installed already in your PC, don’t worry, you can opt to install it along the Visum setup.
The available instructions are very straight forward.
Licence activation
You should have received a server address of where the CERIS licence lives. If not, contact the course teacher.
To use Visum with the CERIS licence, you need to download PTV Licence Manager (Standard).
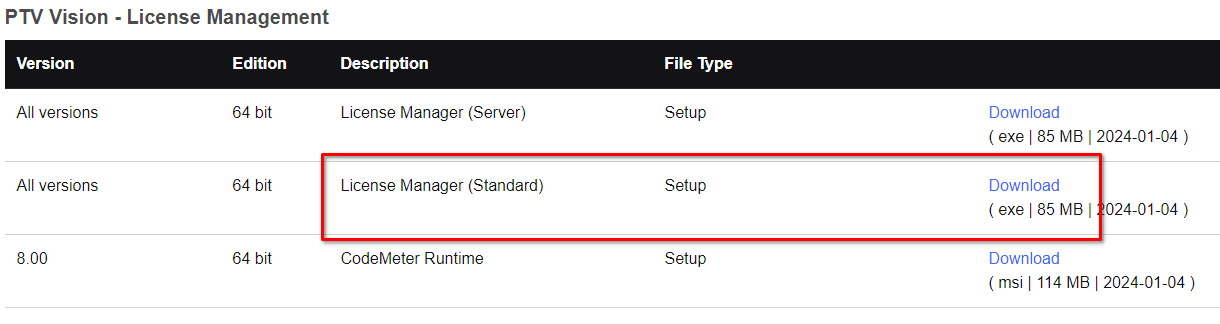
It will ask you to download also another tiny software CodeMeter Runtime. Say yes!
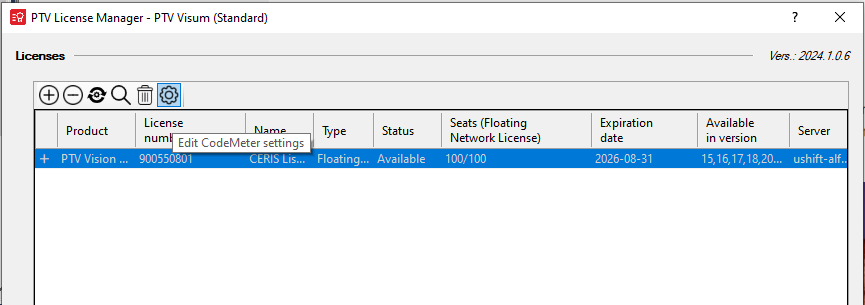
After install it, open PTV Licence Manager, and click on ⚙️ Edit CodeMeter settings:
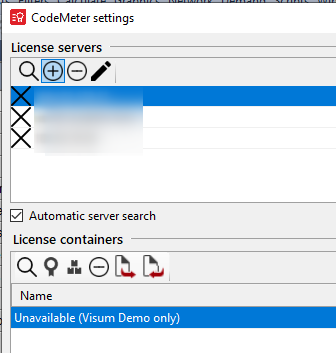
Add ➕ CodeMeter server, and insert the server address that was sent to you.
Press close (go back) and now 🔍 Find Licences.
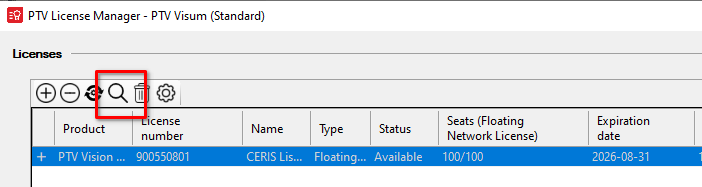
An available licence row should now appear on the list 🎉. Close it.
For any reason 🧙♂️ the licence is not accessed if you are connected to the IST DECivil ethernet network.
Getting started
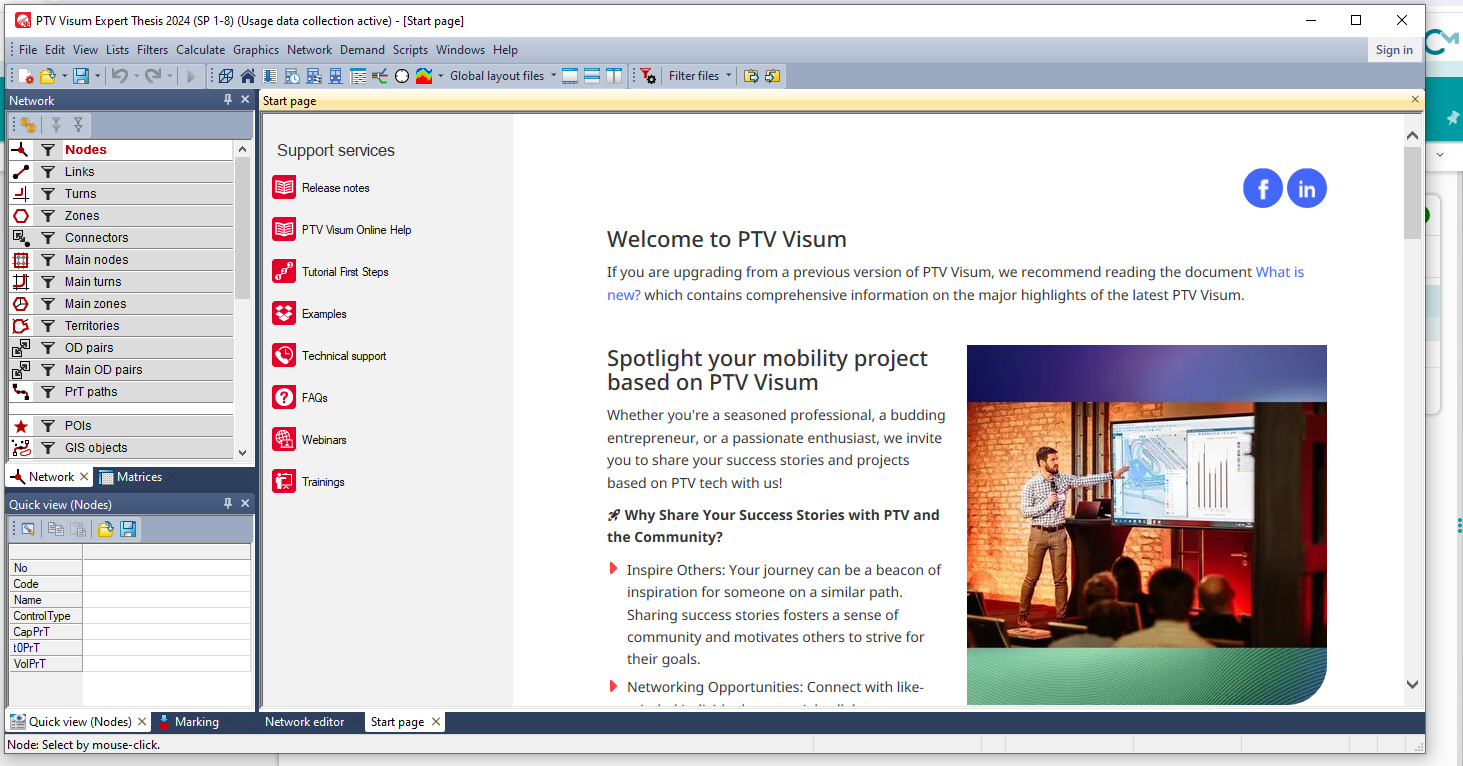
When launching Visum for the first time, you should have something like this. This is a good signal, it means that the connection to the licence server is running smoothly and that you are ready to start working on your projects! 🚀
The “Tutorial First Steps” may be wise to follow if you are not familiar with the software. It covers the following topics:
- Network editing (private and public transport)
- Procedure sequence
- Graphic parameters
PTV also offers online tutorials to get familiar with the software.